Data Entry Mapping
Configuration > Utilities > Data Entity Mapping
Data Entity Mappings document the translation of external values to TITAN values on import templates.
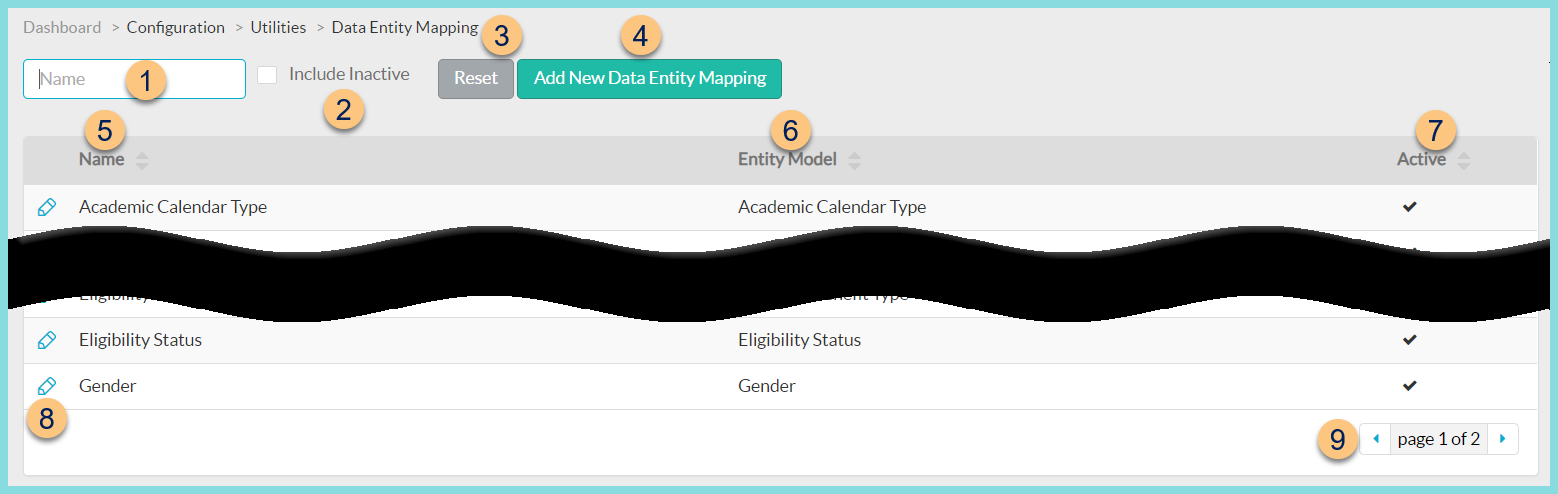
Data Entity Mapping Screen
-
Name - search by name
-
Include Inactive - check to include inactivated mappings
-
Reset - click to reset search parameters
-
Add New Data Entity Mapping - click to be redirected to the individual entity mapping screen
-
Name - click to sort by name
-
Entity Model - click to sort by entity model
-
Active - click to sort by active status
-
Pencil - click to be redirected to the individual entity mapping screen
-
< > - click to scroll through pages
The following mappings exist by default:
-
Allergens
-
Building
-
Country
-
Dietary Restrictions
-
Eligibility Benefit Types
-
Eligibility Status
-
Gender
-
Grade Level
-
Payment Terms
-
POS Staff Member Only
-
Recipe Categories
-
Relationships
-
Religious Restrictions
-
Revenue Accounts
-
States
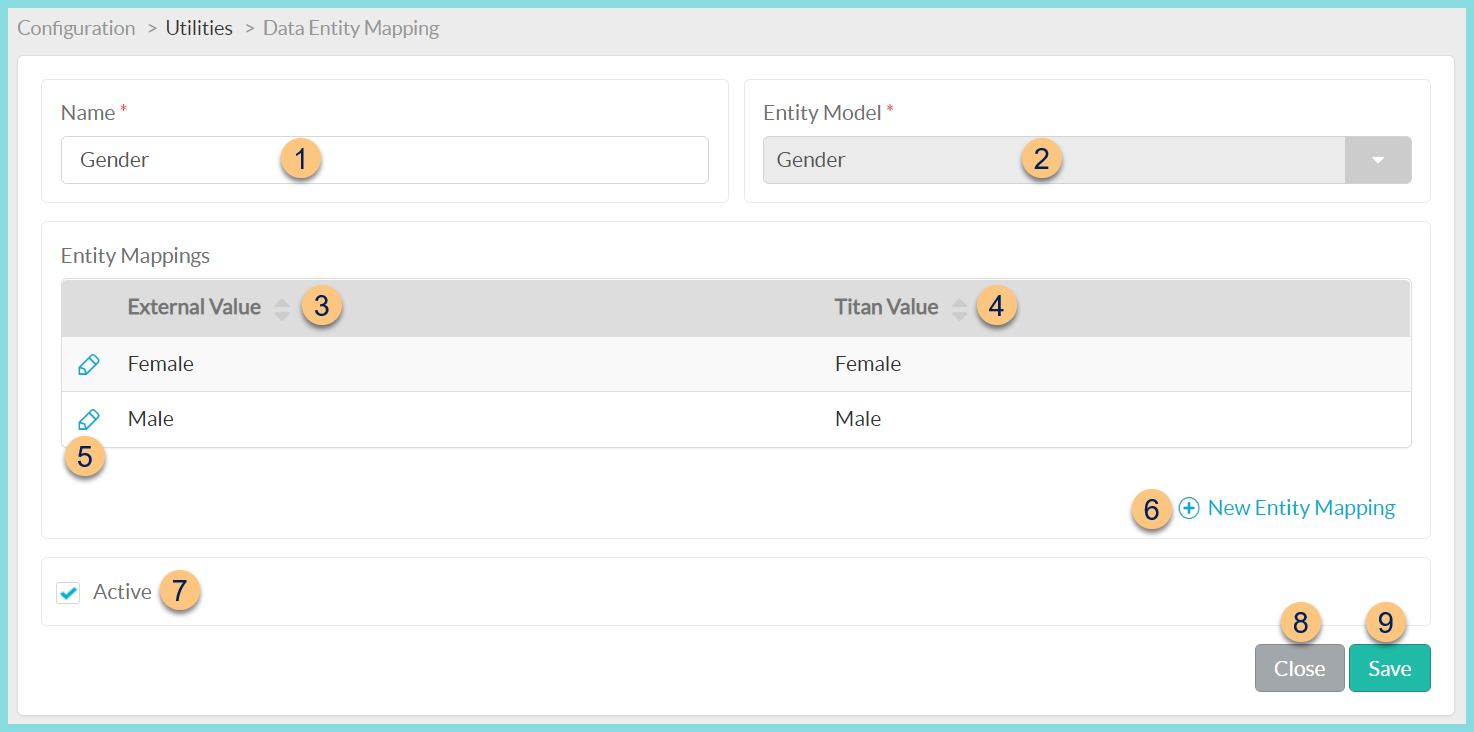
Individual Data Entity Mapping Screen
-
Name - enter mapping name
-
Entity Model - select entity model (not editable once created) (Academic Calendar Type; Academic Year; Allergy; Bid Specification; Building; Chart Of Account; Country; Dietary Restriction; District Group; Eligibility Benefit Type; Eligibility Status; Ethnicity; Gender; Grade Level; Item Category; Language; Other Source Categorically Eligible Program; Payment Term; Person Type; Race; Recipe Category; Relationship; Religious Restriction; Staff Type; State; Vendor, Vendor Inventory Category)
-
External Value - click to sort by external value
-
Titan Value - click to sort by TITAN value
-
Pencil - click to edit mapping detail
-
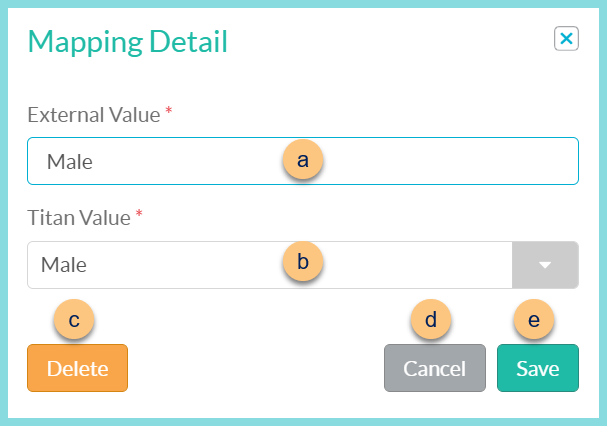
External Value - enter the value exactly as it appears on the import file
-
TITAN Value - select the TITAN value to translate to. Note: Options vary based on the selected entity model.
-
Delete - click to delete the mapping detail
-
Cancel - click to return to the previous screen without saving changes
-
Save - click to save changes
-
-
(+) New Entity Mapping - click to add a new mapping detail
-
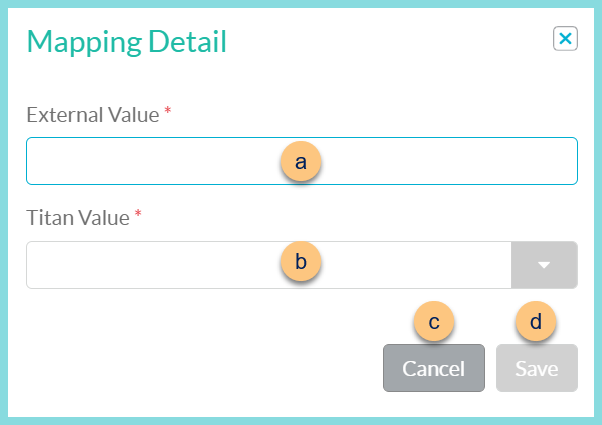
External Value - enter the value exactly as it appears on the import file
-
TITAN Value - select the TITAN value to translate to. Note: Options vary based on the selected entity model.
-
Cancel - click to return to the previous screen without saving changes
-
Save - click to save changes
-
-
Active - toggle active status (existing mappings only)
-
Close - click to return to the previous screen without saving changes
-
Save - click to save changes